-
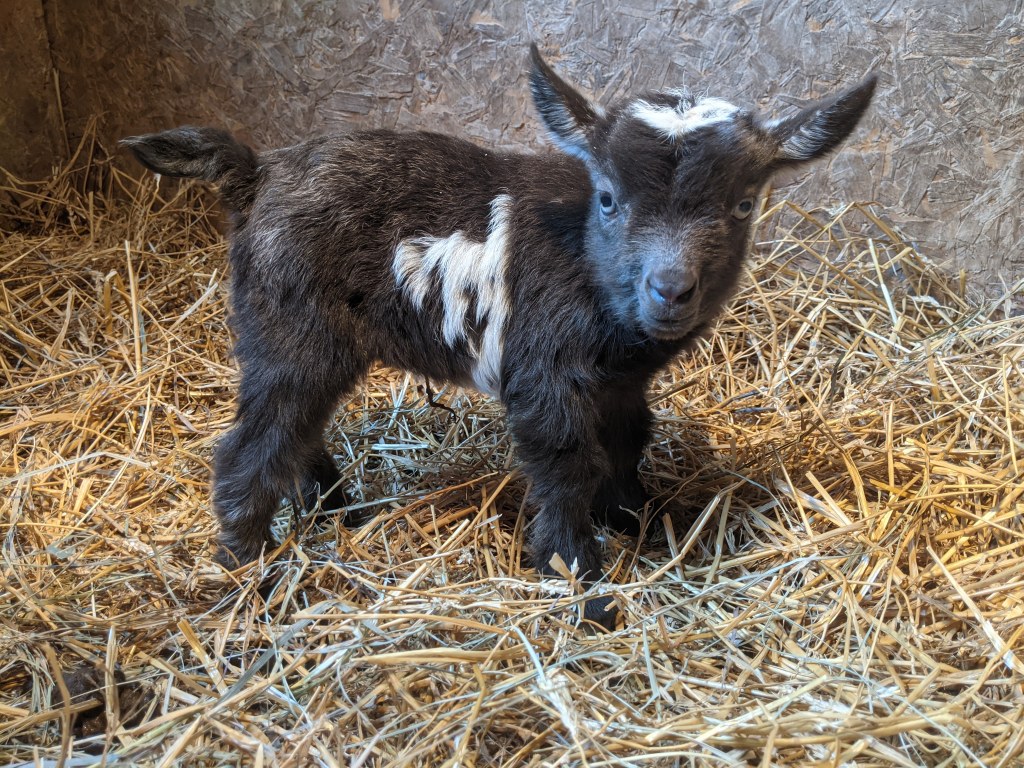
2026 Kidding Updates
We have had lots of beautiful kids making their appearance around here! As of today, We are at a kid count of 10 bucks and 7 does. I tend to just say that the does are retained and the bucklings… Continue reading
-
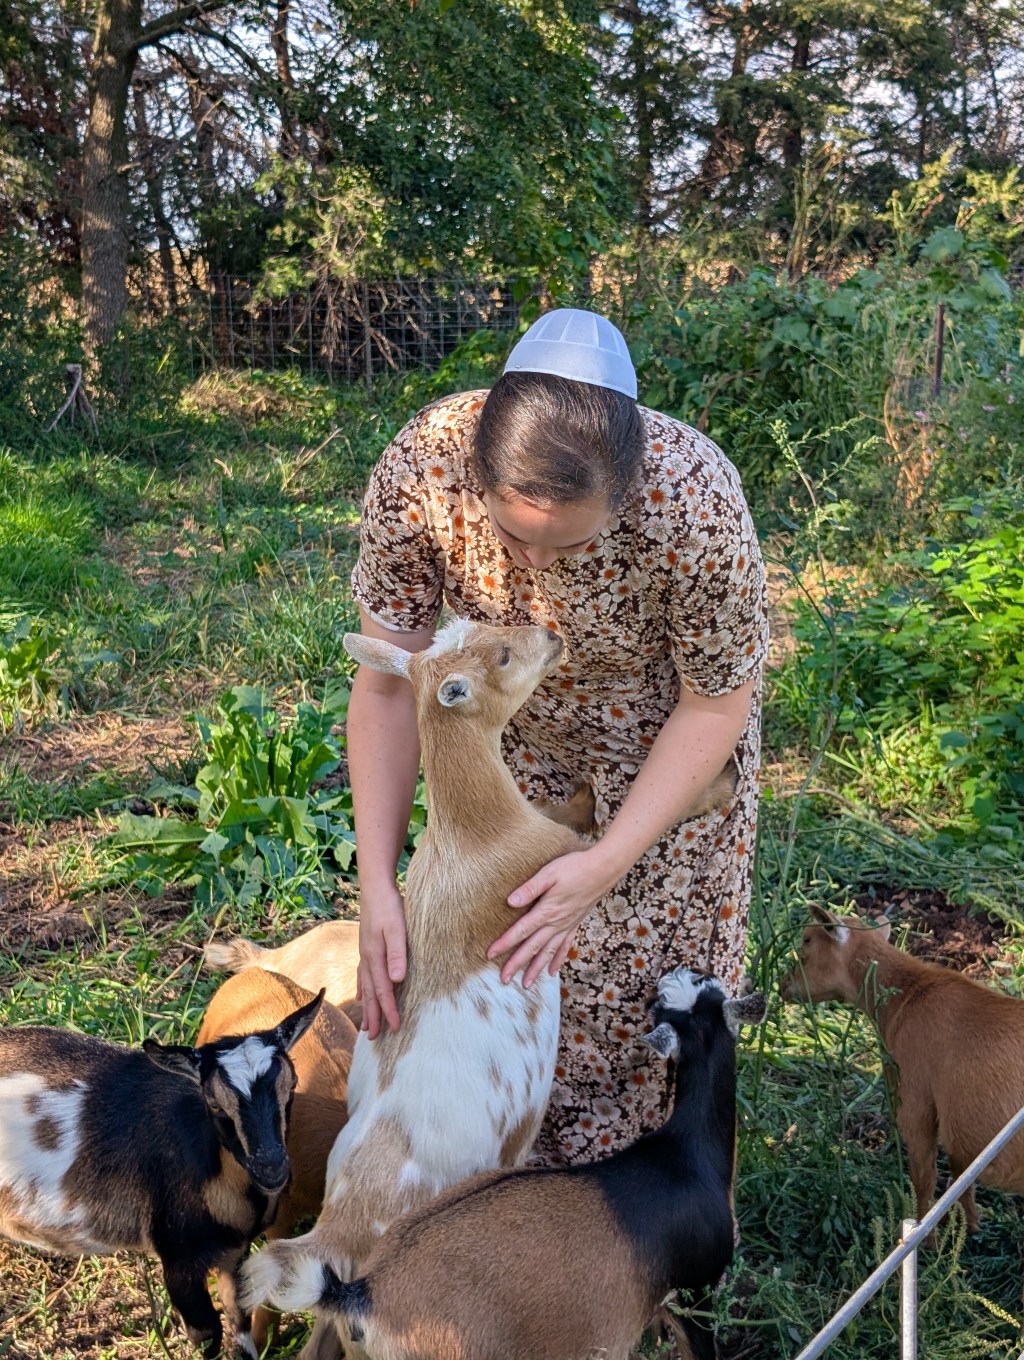
Goat Math
This is our seventh year of raising goats. Right from the start I knew I wanted ADGA registered Nigerian Dwarf goats, because I had my heart set on small goats that would make us lots of delicious milk. Year after… Continue reading
-
When Things Go Wrong
After a handful of lovely, easy kiddings this January, we had a really hard night and ended up losing Tilly, a young two year old second freshener. When Tilly’s labor just wasn’t progressing, I checked and realized something wasn’t right.… Continue reading
-
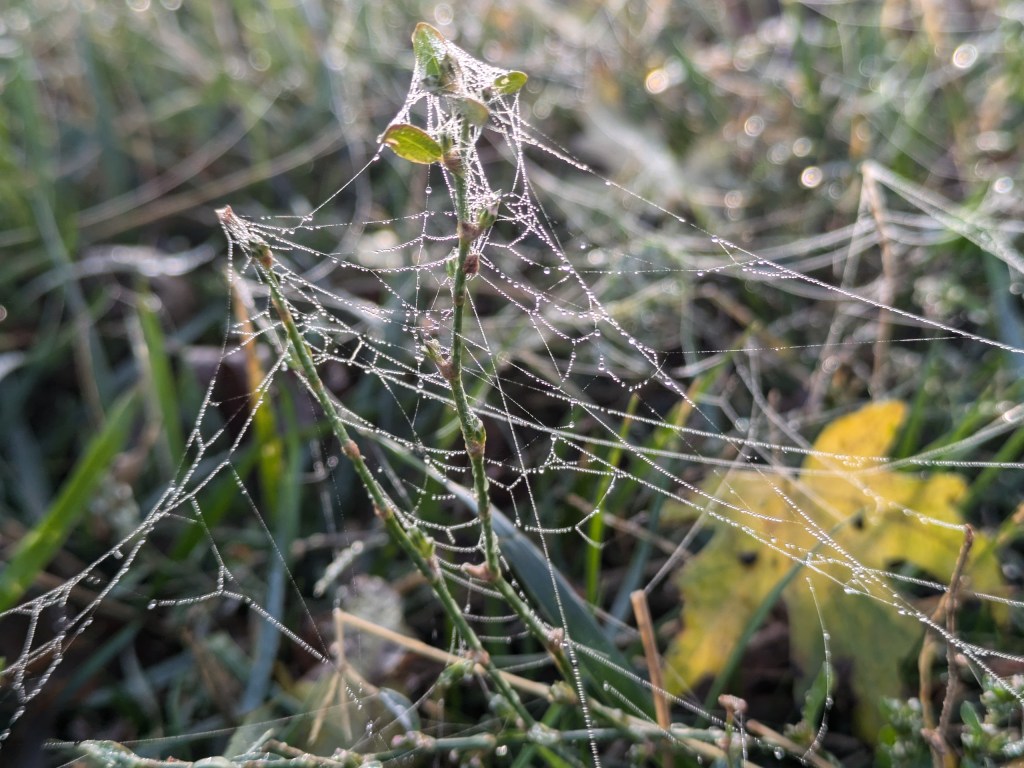
Late Fall
A thought keeps niggling in the back of my mind. That I really want to publish a blog post every now and then. But then I realize it’s a lot easier said than done. But I want people to know… Continue reading
-
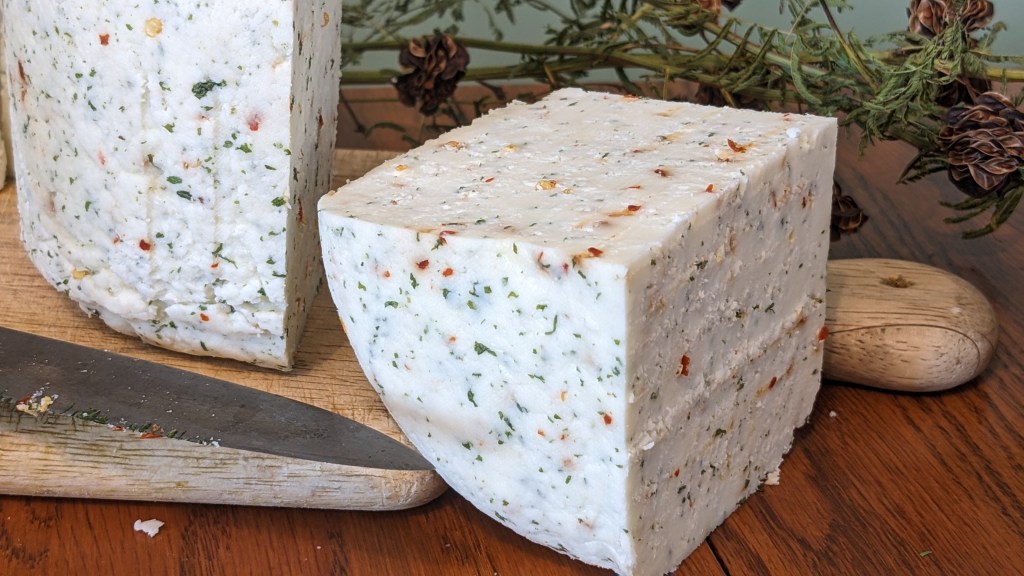
Farmer’s Cheese
Learning how to use excess milk is one of the most rewarding aspects of owning dairy animals. This farmer’s cheese recipe is one of our favorite ways to use our goat milk. What’s great about this cheese is that it… Continue reading
-
Blue Heeler Puppies
Several years ago we had a red heeler named Rusty that we intended to cross with Daisy, our favorite dog ever, to raise some puppies. Unfortunately, we had to move Rusty to a new home because he became aggressive with… Continue reading

-
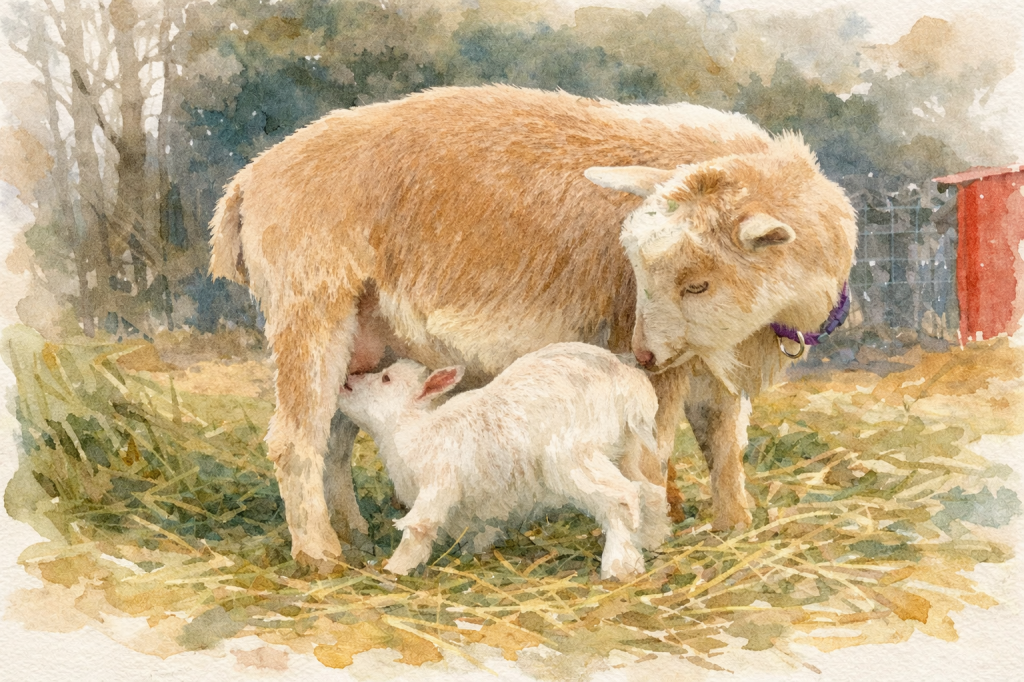
Goat Birth on the Farm
What a great way to launch into the Christmas season, by welcoming new kids to the farm! Plum Bush B Eliza Jane, (Lizzie) gave us triplets on the evening of November 30. I mistakenly assumed that Lizzie was only… Continue reading